The first stage in making a pot is to dig the clay out of the ground. Pieces of grit or plant matter must be removed before the clay can be used. This was done in ancient times, as it is today, by mixing the clay with water and letting the heavier impurities sink to the bottom. This process could be carried out as many times as necessary. When judged to be sufficiently fine, the clay was left to dry out to the required consistency.
To make a vase the potter kneaded a lump of clay of suitable size and placed it centrally on the flat surface of the wheel. As the wheel revolved, the potter drew the clay up into the required shape with his hands. Scenes on the vases themselves show that potters' wheels were discs, presumably made of wood, clay or stone, about two feet in diameter, with socketed bases fitting over low, fixed pivots. It seems to have been usual to have a boy, presumably an apprentice potter, to turn the wheel by hand. Particularly large vases were thrown in sections, and in the case of shapes such as cups, the foot would be thrown separately from the body. The handles of most shapes were hand-made. When all the components had been allowed to dry for about twelve hours, they were glued together with clay slip.
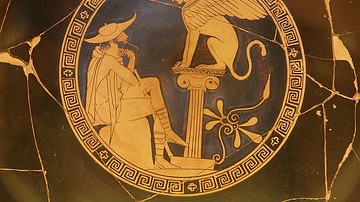
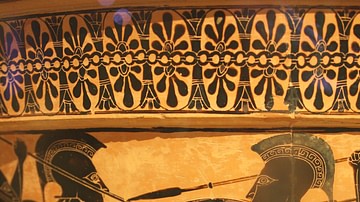
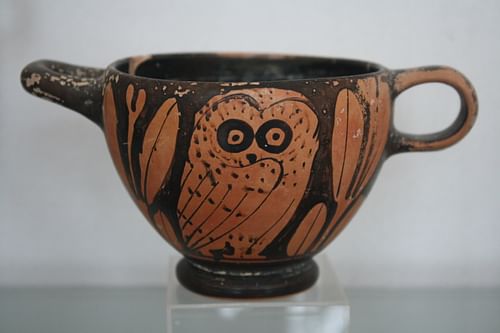
A preliminary sketch was generally made on a figured vase, probably with a stick of charcoal. Occasionally traces of this process can be seen in the form of faint indentations in the surface of the vase. The painting was done with specially prepared clay slips. Black slip, used for the silhouette-like figures on black-figure vases and for the background on red-figure pots, was a finely purified form of the same clay used for the body of the vase. On a black-figured vase many of the inner details of the figures were incised through the slip with a sharp tool. On a red-figured vase, the inner details were painted with thinner or thicker solutions of the normal black slip. In both techniques, other details could be added in purplish-red or white: the red was the normal black slip with the addition of red iron oxide pigment, while the white was a pure, kaolin-rich clay. All these slips were applied with brushes of varying thicknesses.